One of the things that we changed with the start of the new year was the math Sam was doing. He had been working on Pre-Algebra and struggling with it. We are not by any means done with it, just stepping away for a little bit then going to come back to it. In the mean time he really wanted to learn the metric system. Now we needed to learn fun ways to teach the metric system.
I think that his dad hit it out of the park on fun and yumminess for this lesson. Using the ever trusty pinterest he found a recipe for Double Chocolate buns. The recipe was written in Metrics, so for the lesson Sam had to convert it to US standards. Then of course he had to make them to see if he did his math right. We are a gluten free family so as an extra thing Sam transferred the recipe to be gluten free.
The buns turned out supper moist and really yummy. He did a great job on them and they will definitely be on our make again list. Here is the link to the actual recipe if you want to make it yourself.
Showing posts with label cooking. Show all posts
Tuesday, September 23, 2014
Metric math chocolate style...
Labels:
baking,
cooking,
gluten free,
math
Saturday, September 13, 2014
Civil War with a side of Nachos
This is about the civil war lessons that the kids did yesterday. We have started of our studies by reading and doing the projects from the civil war for kids book. We only read 1 chapter and the boys did the 3 projects at the end of the chapter. First up they made the Freedom Star Quilt. The directions were to make an actual size one, we did not need that though so I just had them draw out one.
Gabe's Quilt is on the left and Sam's is on the right.
After Designing the quilts the second project was to write a message in secret code they used during the war. They each wrote a special message to their dad.
The third project they where supposed to dress themselves to look like the soldiers of each side. I however do not have a whole lot of clothes from the 1860's lying around so I had to come up with a different idea. I had the little wooden people shapes so I had them design them to look the soldiers. The North is of course on the top and south on the bottom. In each photo Gabe's is on the left and Sam's is on the right.
Finally our budding little chef Gabe made us some nachos for lunch. He was so proud of them because he did the whole meal himself. He thought that they looked like a sun exploding.
Labels:
arts and crafts,
civil war,
cooking,
history
Saturday, February 25, 2012
Fruit Smoothies
Who does not love a good fruit smoothie. To always have the ingredients on hand when you want one can be tricky.
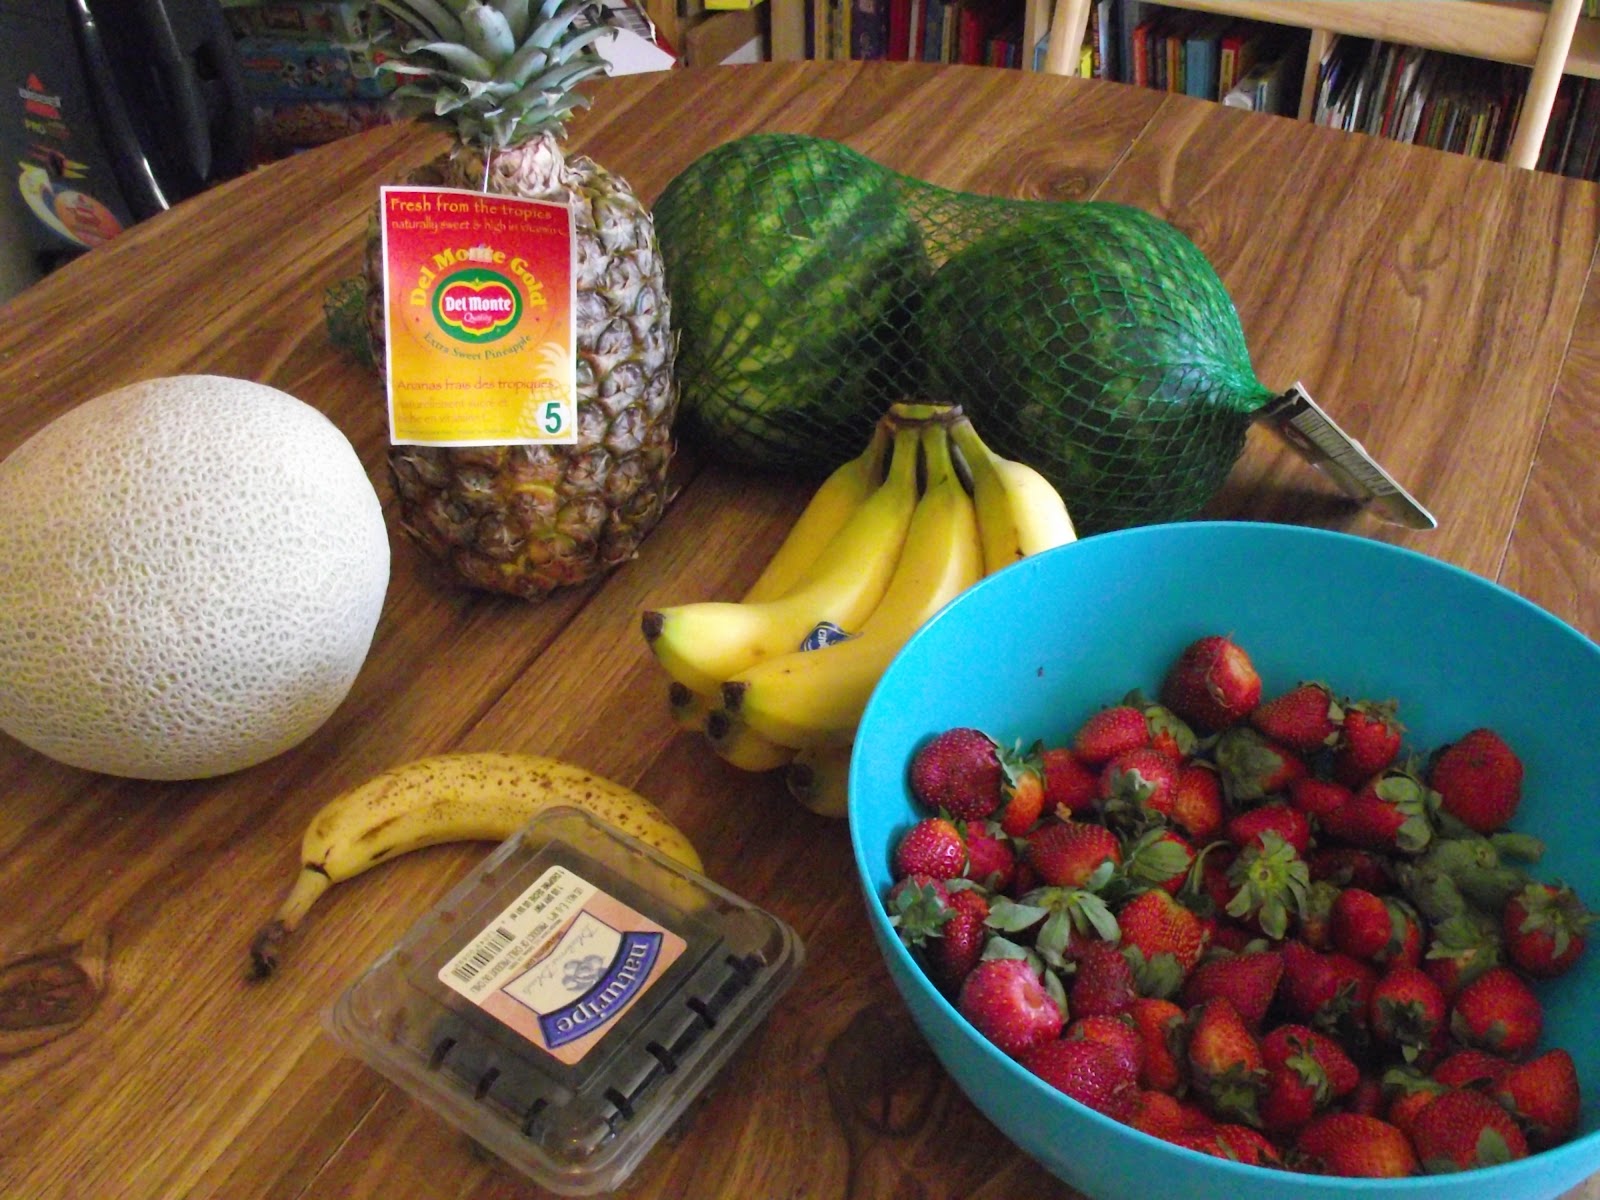
We happen to have a bunch of fresh fruit on hand one day so I decided that it would be great to chop it up and freeze it so we could have it any time we want. (We always have juice and yogurt on hand, it is a staple in our house)
I thought that this would make an excellent kitchen skills lesson for Sam (He agreed) So first he chopped the fruit with me.
We happen to have a bunch of fresh fruit on hand one day so I decided that it would be great to chop it up and freeze it so we could have it any time we want. (We always have juice and yogurt on hand, it is a staple in our house)
I thought that this would make an excellent kitchen skills lesson for Sam (He agreed) So first he chopped the fruit with me.
Then he bagged up the fruit. I let him do this by himself so that he could choose the flavors. He really enjoyed figure out if how many months worth of smoothies we had. He figured that if we had 2 a month then it would last until June.
Labels:
cooking
Monday, January 16, 2012
Cooking with Kids
Learning to cook is an important part of life. I have heard so many stories of kids leaving home and having no idea how to cook. Worse they have no idea what to do in a grocery store. Well I am going to make sure that does happen with my boys. If you have been reading my blog for awhile you know that Sam is not an issue on this front. He is even one of the big reasons why I am having problems losing wieght, the kid can bake. He has even been working on knowing how to grocery shop. He is capable of looking for what the best deals are. His favorite thing now is when we go to the store that I give him his own list and he goes off with his brother and teaches him how to do it. I like it because my shopping is getting done twice as fast now. He even knows how to use coupons, LOL. Love it!
Gabe is a whole different story. He is just learning his skills in the kitchen. Gabe is a really smart kid he just needs a little more supervision in the kitchen because he is still the kid that will grab a hold of the hot pan handle with no oven mit. Ouch! I want to give him more independce in the kitchen though because that is important to his self esteem. For christmas I wanted to give him his own cookbook that would assure more independence for him. I spent a few days searching and I found The Do It Myself Cookbook. What a great cook book, the recipes are so easy for the kids to follow on their own.
Here is a picture of the way the recipes are set up. This is actually the recipe that he did. It is Peanut Butter, Strawberry, and Coconut on Cinnamon Bread.
As you can see he takes his cooking very seriously, look at the focus on his face. He really loves being able to cook. It is one of his goals to work on this year.

Showing off the completed sandwich. He is very proud of his work. I mean wouldn't you be look how good that sandwich looks. It was very yummy too!
Gabe is a whole different story. He is just learning his skills in the kitchen. Gabe is a really smart kid he just needs a little more supervision in the kitchen because he is still the kid that will grab a hold of the hot pan handle with no oven mit. Ouch! I want to give him more independce in the kitchen though because that is important to his self esteem. For christmas I wanted to give him his own cookbook that would assure more independence for him. I spent a few days searching and I found The Do It Myself Cookbook. What a great cook book, the recipes are so easy for the kids to follow on their own.
Here is a picture of the way the recipes are set up. This is actually the recipe that he did. It is Peanut Butter, Strawberry, and Coconut on Cinnamon Bread.
As you can see he takes his cooking very seriously, look at the focus on his face. He really loves being able to cook. It is one of his goals to work on this year.
Showing off the completed sandwich. He is very proud of his work. I mean wouldn't you be look how good that sandwich looks. It was very yummy too!
On a side note the kids did all of their grocery shopping for this recipe and stayed well within my budget. I was thinking of trying to make a cooking segment each week. It will feature recipes that the kids have made on their own or with very little help. What do you think, Let me know if you like this idea.
Labels:
cooking
Thursday, January 05, 2012
Muffins and Frogs
So one of my goals for the new year was to blog more. I was trying to blog each day but last night I could not get my head to function at all. Which is to bad because I was trying to set up a giveaway, make sure to check back tomorrow for that.
Last night my husband was kind enough to make some muffins so that we could have them for breakfast this morning. He was very excited to show me one muffin because it looked just like a frog to him. He is very funny. I do have to say though seeing the actual muffin it did resemble a frog. I mean it was not green and slimy or anything like that. I posted some pictures of it so that you could see it.
And just so you know it was yummy but did not taste like chicken. LOL!
Labels:
cooking,
family,
My talented hubby
Wednesday, February 02, 2011
Japanese Egg Molds
Alright I am so far behind on my entries it is not really funny. I was meaning to show you some stuff that we did over the holidays but it is just way to late know. I did want to share something pretty cool with you that the boys got for Christmas though, Japanese egg molds
They come in sets of two. We got the one that has a car and fish. As you can see they are big enough to fit one egg each in. We were not really sure how to use them since the directions were written in Japanese. Thankfully they did have pictures on the back so we could have some clue how to use it. First we made hard boiled eggs like you normally would. Then we quickly peeled them while they were still hot, put them in the container and sealed it off. On the package it had a picture with the containers in a bowl of water, so we put the containers in warm water for about 10 minutes.
Once they were done they looked like this. The car came out really cute. The fish however had a hard time getting the tail working though, LOL.
They come in sets of two. We got the one that has a car and fish. As you can see they are big enough to fit one egg each in. We were not really sure how to use them since the directions were written in Japanese. Thankfully they did have pictures on the back so we could have some clue how to use it. First we made hard boiled eggs like you normally would. Then we quickly peeled them while they were still hot, put them in the container and sealed it off. On the package it had a picture with the containers in a bowl of water, so we put the containers in warm water for about 10 minutes.
Once they were done they looked like this. The car came out really cute. The fish however had a hard time getting the tail working though, LOL.
Look how cute the car is. It was alot of fun for the boys. Hope you enjoyed.
Labels:
cooking
Wednesday, September 01, 2010
A little bit of cooking.......
So a lot of baking has been going around here lately. The kids are loving getting in the kitchen and trying out new recipes. They especially love it when a recipe comes from another country. One of the recipes that we did the other day was Pavlova, it is a popular dessert in Australia. Since we are studying Australia right now the kids could not wait to try it. I found the recipe on allrecipes, there was a few different recipes for it but this is the one that I used. It was very yummy, really sweet though.
I made some minty brownies today. They were so good, the nice and fudgy texture with a nice taste of mint. I mentioned them on facebook and I had a friend ask for the recipe so I thought that I would share it here for everyone. I got the recipe from my Hershey cookbook. It is called Perfectly Peppermint brownies.
Ingredients:
3/4 cup of Cocoa
1/2 teaspoon of baking soda
2/3 cup butter melted and divided
1/2 cup boiling water
2 cups sugar
2 eggs
1 1/3 cups a/p flour
1 teaspoon vanilla extract
1/4 teaspoon salt
16 or 17 peppermint patties, chopped ( I used Andees mints from the baking section)
Directions:
1. Heat oven to 350'F. Grease 13x9x2 pan.
2. stir together cocoa and baking soda, stir in 1/3 cup butter. Add boiling water, stir until thickens. Stir in sugar eggs and remaining butter until smooth. Add flour, vanilla, and salt, blend. Stir in peppermint patties (or mints, LOL). Pour into pan.
3. Bake 35 to 40 minutes.
4. Enjoy yummy goodness
Looks so good right. We used fresh blueberries to top it. I was going to put strawberries but was all out when I made it.
Doesn't that look so good (trust me it was :0))
Ingredients:
3/4 cup of Cocoa
1/2 teaspoon of baking soda
2/3 cup butter melted and divided
1/2 cup boiling water
2 cups sugar
2 eggs
1 1/3 cups a/p flour
1 teaspoon vanilla extract
1/4 teaspoon salt
16 or 17 peppermint patties, chopped ( I used Andees mints from the baking section)
Directions:
1. Heat oven to 350'F. Grease 13x9x2 pan.
2. stir together cocoa and baking soda, stir in 1/3 cup butter. Add boiling water, stir until thickens. Stir in sugar eggs and remaining butter until smooth. Add flour, vanilla, and salt, blend. Stir in peppermint patties (or mints, LOL). Pour into pan.
3. Bake 35 to 40 minutes.
4. Enjoy yummy goodness
So what are you baking in your kitchen?
Wednesday, August 04, 2010
Chef Gabe...
Gabe has been really trying lately to help out in the kitchen. It has been alot of not right now because you are not ready for this. Well he is not going to be ready if I do not give him a chance. So I got The Mash and Smach cookbook from the library for him. This is such a great cookbook. Very easy recipes to do, and all by himself. He made his first recipe for us over the weekend and did a great job. He asked me if it did come out good would I still eat it. Aww so cute and Of course I said yes. Here a some pictures of him cooking, please excuse any messes you see in the background.
He made Pizza stuffers. He took Pita bread and put some cheese and pizza sauce inside. Then he put them in the oven long enough to melt the cheese. ( his dad actually put them in and took them out of the oven) he did everything else on his own though. He was so proud of himself. Incase you are wondering the lunch came out great and he will cooking again this weekend.
Friday, March 05, 2010
Twix bars...
Twix Bars
Ingredients:
1/2 cup butter
1/4 cup white sugar
1 1/4 cup all purpose flour
3/4 cup butter
3/8 cup white sugar
3 tbsp light corn syrup
1 14 oz. can sweetened condensed milk
1 cup milk chocolate chips
Directions:
Step 1: Beat butter and 1/4 cup sugar in mixer until pale in color. Add flour to form a crumbly dough similar to pie crust. Press dough into an 8 inch square pan that has been greased and lined with parchment (Sam did not do either and it came out fine, but he did use a non-stick pan). Bake at 350 degrees for 20 -25 minutes or until golden brown on the edges. Leave in pan, cool in fridge.
Step 2: Bring to boil: 3/4 cup butter, 3/8 cup sugar, syrup , and sweetened condensed milk. Stir constantly once boiling for 7 minutes. Caramel mixture will thicken and become pale in color. Spread caramelon COOLED shortbread base. Let caramel layer cool for 30 minutes in the fridge and then an additional 1 to 2 hours in the freezer to get the caramel stone hard.
Step 3: Melt the chocolate chips over low heat. Spread the melted chocolate directly onto the cooled caramel layer. Let cool for 1 hour. Enjoy.
These were extremly yummy and Sam can not wait to make them again. Next week he is going to try out a recipe for Coconut rice crispy treats. Can not wait, yum!
Thursday, August 27, 2009
Yummy Fun!!!!!
We wanted to have a fun and yummy treat this weekened with the boys. What to do?
Well I have these two products. Any ideas yet. I mean it is ballons and candy melts.
Try blowing up the ballons and then putting a coating of melted candy melts on the bottom. Let them harden. Once it has harden pop the ballons.
Then you have some CANDY BOWLS. So fun and easy. Now what to put in them. Our choice...
Ice cream sundaes. Now that is a fun and yummy treat.
The boys loved them and can not wait to try them again.
I got the idea for this project over here at this site. I think that next time we do this I will use chocolate chips to make the bowl because I had problems coating it with the candy melts. I actually had to use a butter knife and spread it on the balloon. All in all though it was great fun.
Friday, March 06, 2009
Pineapple Carrot Muffins
Carrot and Pineapple Muffins -- Makes 12 muffins
Ingredients-
3/4 cup all-purpose flour
3/4 cup whole wheat flour
1 teaspoon baking powder
1/2 teaspoon baking soda
1 1/2 teaspoons of ground cinnamon
1/2 teaspoon of salt
1 cup vegetable oil
1/2 cup superfine sugar
2 eggs
1 large carrot, peeled and finely grated
one 8-ounce can crushed pineapple, semi drained
3/4 cup raisins
1/3 cup chopped pecans (optional)
Directions--
Preheat the oven to 350 degrees. Line a muffin pan with paper cups.
Sift together the flours, baking powder. baking soda, cinnamon, and salt and mix well. In a seperate bowl, beat together the oil, sugar, and eggs. Add the carrot, pineapple, raisins, and pecans (if using). Gradually add the flour mixture, beating until the ingredients are just combined.
Pour the mixture into the paper cups and bake for 25 minutes. Allow the muffins to cool for a few minutes then transfer to a wire rack.
Labels:
cooking
Wednesday, February 18, 2009
Flour Tortillas
Yesterday the boys had baking for their life skills. They made some flour tortillas so that we could have them with supper. I found the recipe in their Around The World Cookbook. We bought this after getting it from the library. It is a great cookbook, we are having a lot of fun with it.
Are you ready to cook with us......
Add in all of the ingredients.
Mix it up really well. Use your hands if the spoon does not work well enough.

After you have divided the dough into 8 balls you need to roll them out flat.

Gabe really wanted to form his into something. He made a heart (kind of hard to see, sorry) with his last ball. When I asked why he made a heart. He said "because I love you". Can we say awww. He is just to cute. Needless to say that was my favorite part of the day.
Of course though we could not do cooking with out a flour fight. This time we even got Sam. hehehehe.
Sam was taunting us saying we would never get him on the rug. My response, that is what we have a vaccum for. I got him, then pulled him closer to the kitchen. I told Gabe to get Sam. Silly me I thought that he would only take some stuff from the counter. Nope he dug both of his little hands into the flour container. The result is shown in both of these pictures.

Needless to say we all did get hit. I think all of us changed because we were so covered. At least we had fun! Gabe enjoyed it so much he kept throwing it at himself.
I thought that I would share the recipe to if any one wants to try and make it.
Flour Tortillas-- Makes 8
Ingredients-
2 cups of all-purpose flour, plus more for sprinkling
1/2 cup of vegetable shortening
3/4 cup of warm water
1 1/2 teaspoons of salt
1.) Mix the ingredients in a medium bowl until a dough forms. Turn out and knead for one minute. Divide into 8 balls.
2.) Heat a heavy skillet over medium heat.
3.) Sprinkle flour on your work surface and rolling pin. Roll each ball into a 6 inch round. (Don't worry if they're not perfectly round). If the dough sticks to the surface, sprinkle with more flour.
4.)Place 1 round in the hot pan. Cook, turning once, until bubbles pop up on each side, about 2 minutes per side.
5.) Remove from the pan and wrap in a clean towel. Repeat, stacking the cooked tortillas in the towel.
Added note-- we have been experimenting and adding in different seasonings. So have fun and see what is the yummiest to you.
Tuesday, February 17, 2009
Birthday Cakes
I thought that I would share some pictures of Gabe's cakes. Yes I said cakes. You see Gabes birthday was on a Thursday and his Dad worked late. So we decided to have cake and ice cream on friday with family. Of course he had to have something on his actual birthday so I wanted to make cupcakes for him. I found this one on Family fun. I did not have any ice cream cones but I did have waffle bowls for ice cream. I figured that it would work just as well. It did, but it expanded a lot.
Here are ice cream sundae cupcakes. They were very large, It took a couple of days to eat it. They were oh so yummy though.
Subscribe to:
Posts (Atom)